Wednesday, November 30, 2016

Birthday Mittens for Mom

Back in 2012, my Mom asked for a pair of hand-knit mittens for her birthday.  I made these delightfully colorful mittens for her out of Mountain Colors Twizzle in the Hummingbird colorway using the Handful of Berries Mittens pattern by Jocelyn Tunney.


I enjoyed making the mittens, and Mom liked them, but they were just a tad bit to small, so they needed to be replaced this year.  Mom already has some fingerless mitts that I crocheted for her back in 2013 out of Caron Simply Soft Solids in the Grey Heather colorway with the Challenge Mitts pattern by Sharon Maher, so full mittens were in order.


I wanted a pattern with a large size range so I could re-use it for others if I liked it, which I did.  I selected the Waiting for Winter Mittens pattern by Susan B. Anderson, which has been really popular on Ravelry.  For Mom, I made the medium size out of Plymouth Yarn Coffee Beenz that we had purchased together during the Great Rhody Yarn Crawl 2013.  Rhode Island is the perfect size for a yarn crawl, though I will admit we didn't attempt the Block Island location.  


The best part is that my parents came to visit for Thanksgiving, so I was able to hand deliver the mittens and saw them worn as well.  The fit was great this time around.  The mittens actually matched too, I managed to not mess up the row counts for once, so both mittens are the same length in both the hand and the thumb!  I just might actually be getting better at this knitting thing. :)


Wednesday, October 5, 2016

It's Fall!

Ooh boy, it's been a while.  Autumn has arrived in our little corner of Michigan.  Leaves are changing colors, the weather is cooling off, and we've been getting a whole lot of rain.

Crafting has taken a back seat for us this spring and summer, as a lot of time has been put into our garden.

But there are a few projects that are in the works that we'll share along the way.  Cross-stitching has entered into the realm of craftiness that is our household, and a big project is planned for 2017.

Strips of fabric have been cut and are ready to be assembled for a quilt.

There may be some wooden birthday presents given this fall, and there is a mitten on the needles to be gifted as well.

Updates soon.  Promise!

Sunday, February 21, 2016

Lotion bars

We made some lotion bars to give as Christmas presents in 2015, and since they've all made it to their intended recipients, I can share the process with all of you.

I loved making these lotion bars.  We made a few tweaks to our process for the lotion bars we are selling on our Etsy store, but those are mostly process related because these were pretty awesome to begin with.  The cucumber melon scent smells delicious.  Instead of the standard cucumber and green melon (french melon), it's cucumber and watermelon, which has a sweeter scent that's not as quickly recognized but quite obvious once you know what it is.  Anyway, on to the process.

Measure out 8 oz of each of the selected oils, butters, and beeswax.


Put into microwave safe container.

Microwave in 30 second segments, stirring between until you reach an oil consistency that is well combined.


Measure out fragrance oil.

Add to oil/butter/wax mixture.


Pour into molds.  Note: after spooning the oil into two of the molds I gave up and just started pouring from the measuring bowl.


Let sit until room temperature.  Watching lotion bars cool is way better than watching paint dry or water boil.  I highly recommend it.


Place in fridge for 4 hours to set.  Note: After I did this, the ice in the freezer tasted a bit funny, similar to what happens if you have a really potent cut onion in the fridge.  This step isn't necessary unless you need the lotion bars to be usable in a short period of time.  If you do this, just be aware that the fragrance can effect anything that easily picks up other scents or flavors.


Unmold and voila, lotion bars with ingredients we can all pronounce.


Wednesday, February 17, 2016

Upcoming plans

We know, we've been terrible slackers when it comes to the blog, but we've been working on lots of new items for the shop and we're preparing for our first craft show.

First some details about the craft show.  It's going to be at the Holiday Inn in Big Rapids, MI on March 19th from 10-3.  We're planning on having a large selection of birthday boards, some necklaces, soaps, lotions, lip balms, and maybe a few other types of items.  We'll be accepting cash, MasterCard, Visa, American Express, Discover, and Etsy gift cards.

As we finish making the items, we are adding them to the shop, so if you're interested in an item and don't want to wait or won't be able to attend, they are available for purchase.

Right now we have four of our white birthday boards with dark blue text on the site.  We'll be adding some black with turquoise text, stained wood with burgundy text, and a few campfire orange with black text.


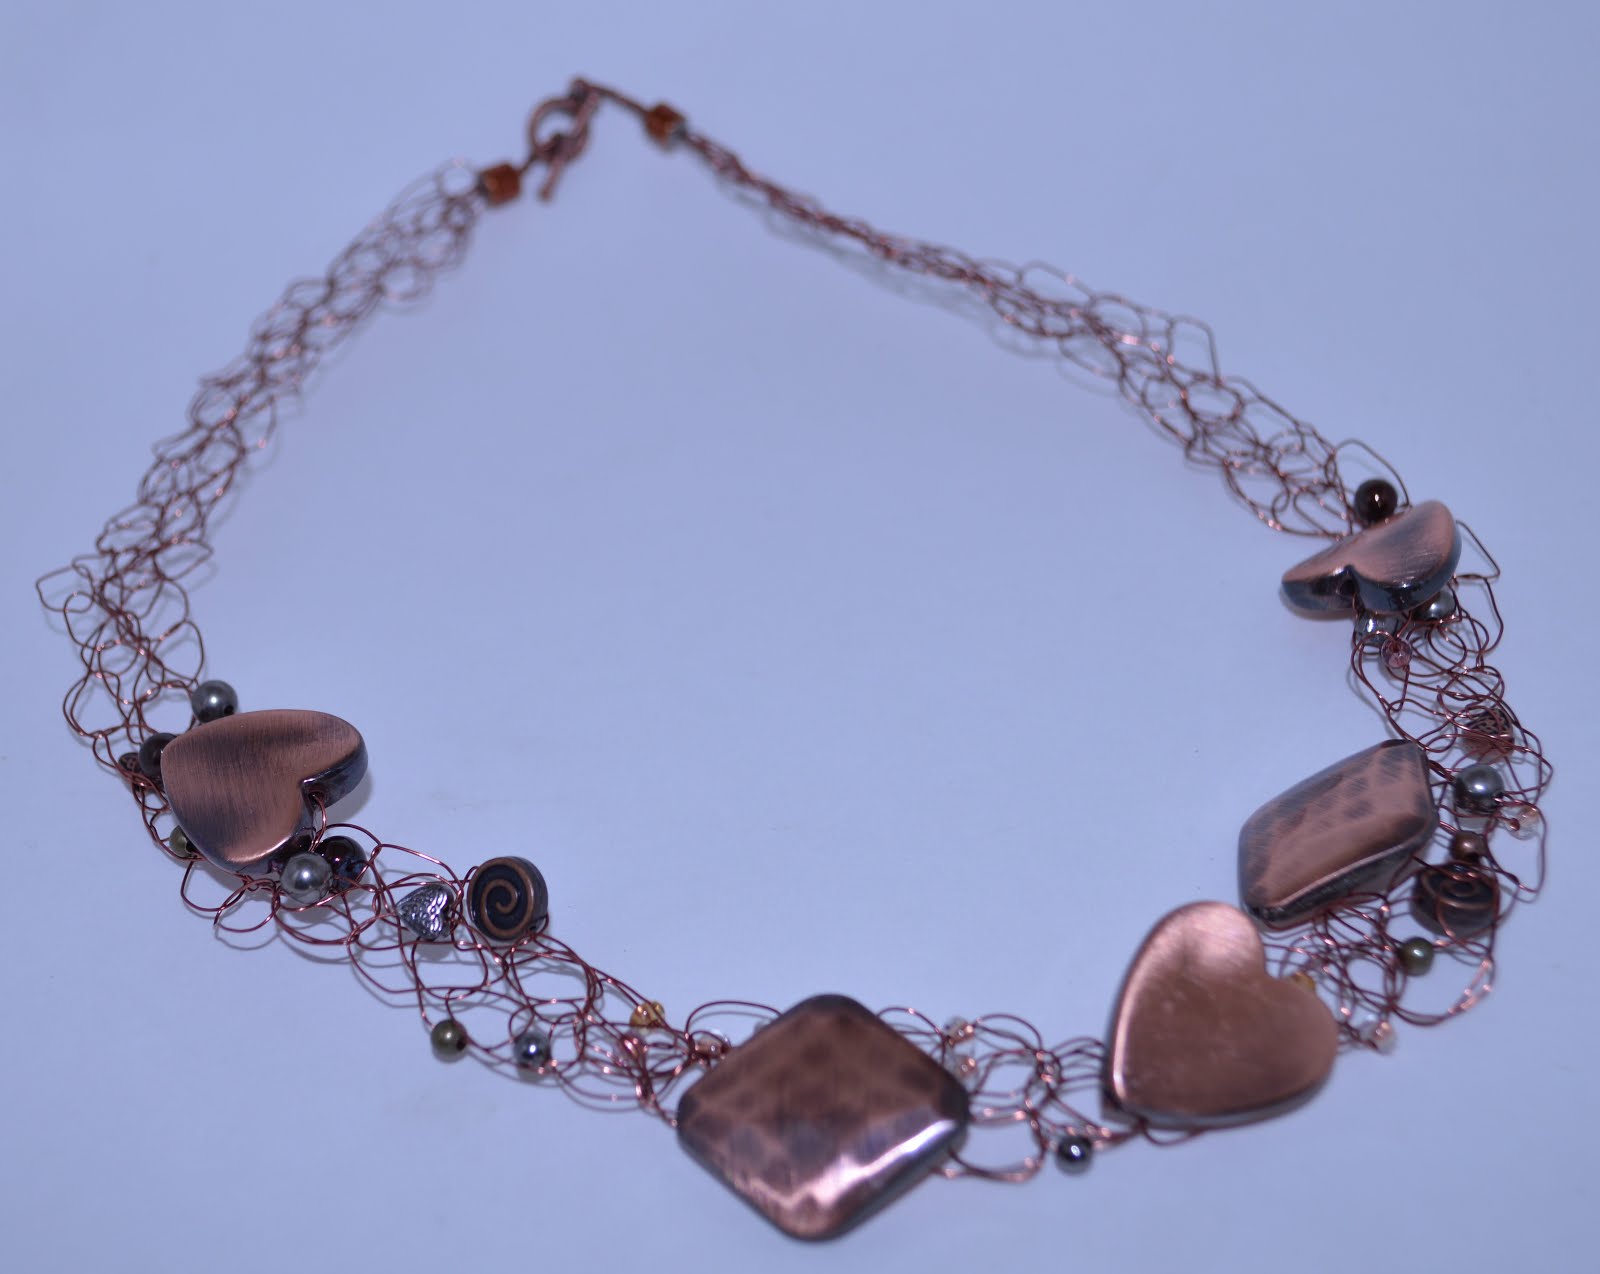
We also have several necklaces available, all handmade by Tammy.


We'll have our Cherry lip balm, Violet Vanilla lotion bars and soap, Plain (unscented and naturally colored) lotion bars and soap, Eucalyptus Spearmint soap, and even some highly requested Fresh Snow soap (don't be fooled by the name, this scent is not a winter specific scent).

We hope to have a good turnout at the craft show, it's the first year for the show so we're not sure how many people will know about it.  

We are planning to be better at maintaining this blog too.  I guess we'll see how that goes.

Sunday, November 1, 2015

Quick update

Hey everyone!  Sorry we just disappeared for the whole month of October.

We've been up to some pretty big and cool stuff that we just couldn't share yet (and some we can't until 2016 starts).

Most of our recent crafting has been related to making birthday and holiday gifts, which we don't want to give away the surprise for, so most of those will be posted after they make it to their intended recipients.

The big news is that we've been working on setting up our business, and we think we've filled out all the necessary forms and received the required approvals, so our Etsy shop is now open.  It only has a few items in it right now, but we're working on stocking it up with more great stuff.  For our more particular customers, we will be taking on custom orders whenever possible.

If you have a chance to check out our store (it's WestMittenCrafts.Etsy.com), please let us know what you think.  And if you have ideas for things you'd like to see us make or to be able to purchase, let us know that as well.

Sunday, September 27, 2015

Workbench Add-on for Cutting Sheet Goods

One thing that I've struggled with since starting woodworking has been working with full sheets (8'x4') of plywood. Not only is moving them around and storing them tough, but cutting them is a pain as well. I don't have a cabinet style/size table saw that can safely cut full sheets, which leaves me using a circular saw to cut them. 

I looked into the problem on some forums and some people use their table saw while others made 8'x4' tables out of 2"x4"'s and just left it outside to cut full sheets on. 

I have already used my mobile work bench outside to cut full sheets of plywood, but its a bit cumbersome and requires two people to safely make cuts. What I decided to do was to build supports that can go on top of my workbench and extend the top to 4' wide. It also provides some depth so I don't cut into the workbench.

Tools:

  • Miter Saw (circular saw is fine too)
  • Drill
  • Countersink Bit

Materials:
  • 3 - 2"x4"x8'
  • 16 screws at least 2 1/2" in length
  • Mobile Workbench

I started by cutting two 2"x4"'s in half and cutting eight 6" blocks out of the third board.

Next I clamped one of the 6" blocks to the bench flush with the top and then set the 2"x4" across the top. Make sure to center the 2"x4" on the workbench. With the board centered, pre-drill some holes in the top to keep the board from splitting when you put the screws in. 

After you screw in one side its time to do the next.

Repeat the process a few times and you will have a good set of supports for cutting full sheets.

With these supports I was able to cut down four sheets of 3/4" plywood myself, and did not have to worry about the board pinching the blade or falling. 

As you can see in the picture below I've cut through the 2"x4" supports quite a few times, this isn't a problem now, but eventually if I cut through them too much and the plywood doesn't sit flat I will have to replace them. They are only rough construction lumber so the cost is very inexpensive. Also when making cuts make sure you remain aware of where the screw head are so that you do not wreck your saw blade. 

Sunday, September 20, 2015

Raindrops

My mother-in-law recently planned a baby shower for my sister-in-law.  She found this adorable raindrop/balloon window decoration on Pinterest.  Here's her final Pinterest-inspired product.

To make the raindrops easily and consistently, we used our Silhouette Cameo.  Lee found an adorable cloud and raindrop design called Cute Rain Cloud in the Silhouette store.

We bought the pattern, enlarged a raindrop and cut out a bunch on pastel cardstock, minus the pink.


The original Pinterest project looked like it had a streamer between each column of raindrops, but I think this came out really cute without them.  There were some extra rain drops that were taped to the other windows as well.