
Recently we moved houses and I have been doing a lot of remodeling to get the new house ready and fixing up the old house to get ready to sell. This put the blog on hold for a bit which is why this article is coming out well after Christmas. With that said here you go.
My wife and I have decided that we would like to start creating things for gifts. The main reason we wanted to do this is that most of the people in my family and hers buy things when they want them. So what do you buy people when they have everything? Nothing, you make them something.
My wife is an avid Pinterest user and came across Family Birthday boards. I liked the idea and the boards seemed simple enough to make. So below you will see my attempt at making a few for Christmas gifts last year.
The first piece here is a test piece to try and figure out what router bit to use and what paint method would look best. The roman ogee bit fit best with the antique and worn look I was going for. I will go into the paint method below.

I cut four boards out of pine to 22 inches long, and then routed them with a Roman Ogee bit.


Here is a closer look at the routed profile.

Okay, here is where things get antique-ey. I used a dark color paint as an undercoat and then painted on an antique white color.


After the paint dried I took some sand paper and gave the wood that old worn look.


I needed to pre-drill the holes to to hang the tags from and in order to do that I setup my drill press with a larger fence than the one that comes with it to give some stability to the board. I used a pretty small drill bit and put 12 holes in equally spaced.

I started the eyelets by hand and then used my awl to get the rest of the way in.


Here are all four boards mostly done.

We bought a Cameo Silhouette cutting printer to use for this project, but after using it I am sure we will use it much more. We made a layout of what we wanted to see on the boards and cut it out of vinyl.

I used as close to a royal blue as I could get. I think this color goes good with the under coat of paint and the over coat of antique white.

Transferring the vinyl to the board was probably the trickiest part of the whole project.

As I said transferring the vinyl was difficult (one of these things is not like the others.) That being said I think they look great. Boards done!

With the boards done it was time to make the discs that would hang from the boards. I had considered making discs from dowels or buying some from a craft store but I found some on Amazon way cheaper than the craft stores and much easier than cutting them from dowels. I figured out how many I needed and taped them to some painters tape so I could lift them after painting and not have the stick to the board.

I clamped them to the rafters after painting to dry.

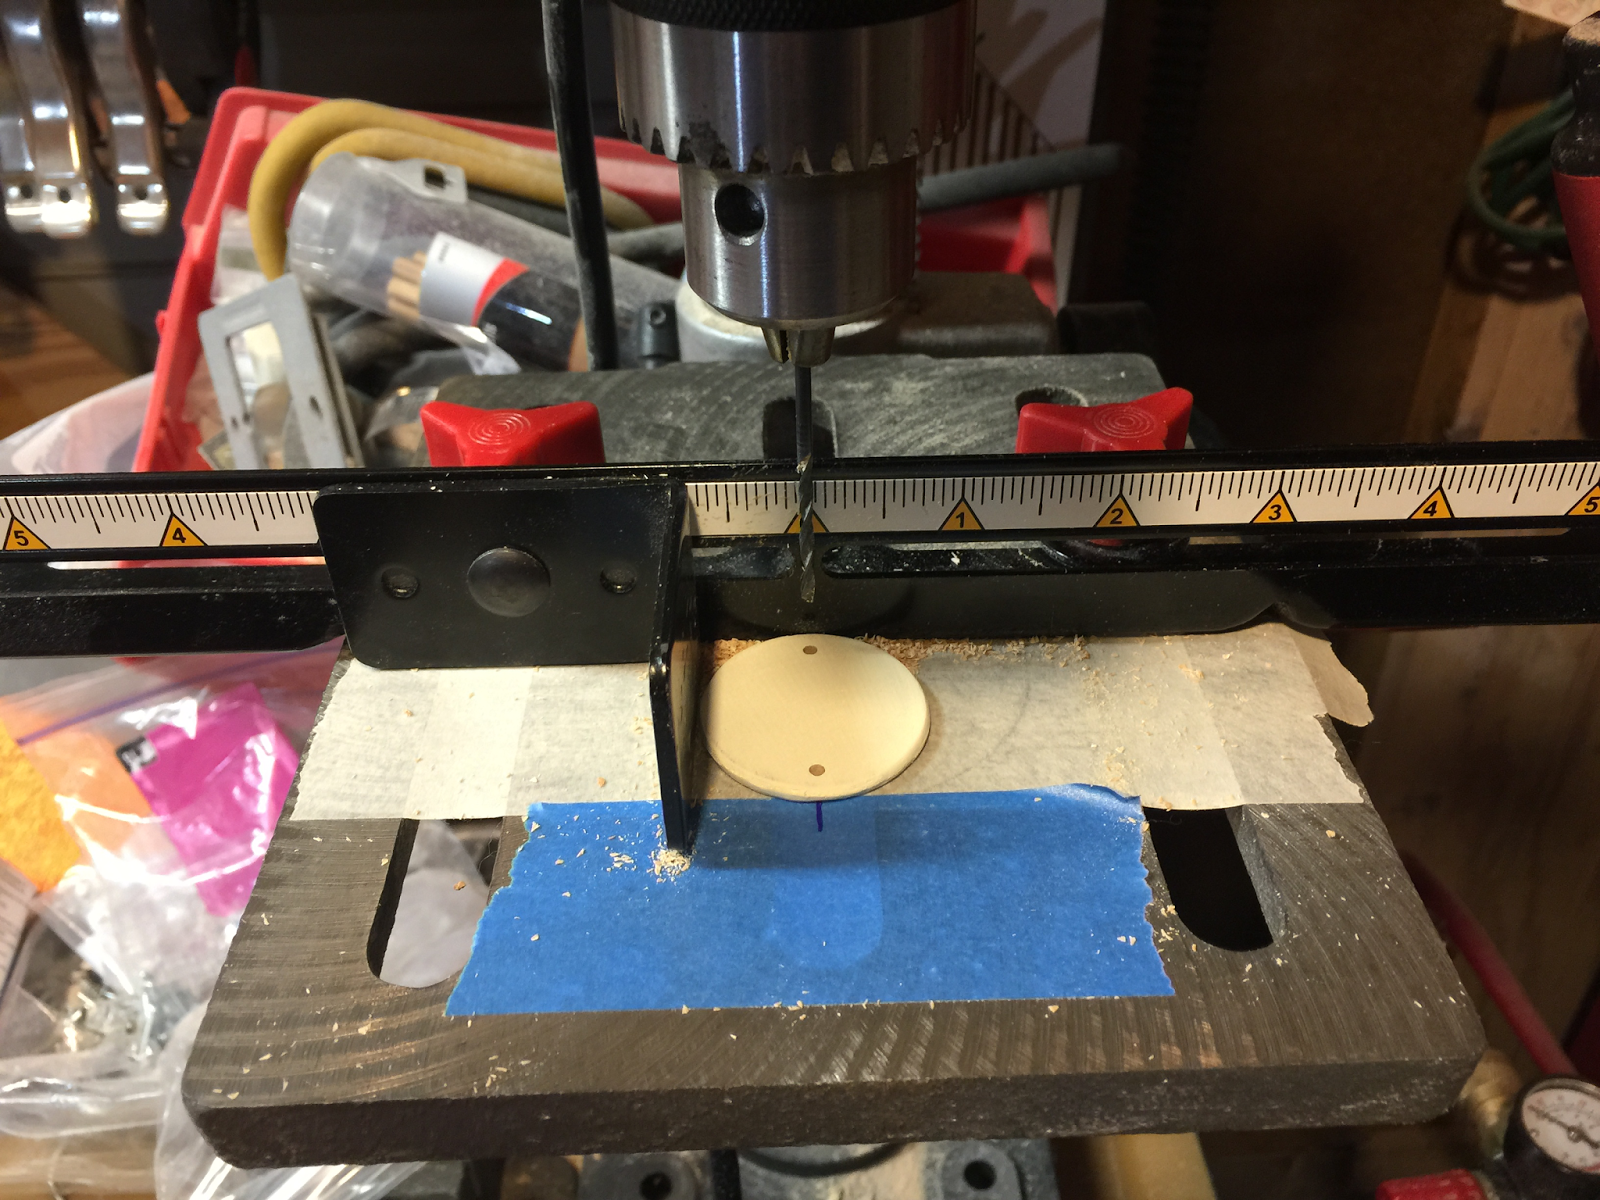
All of the discs needed to be drilled top and bottom for rings/hooks. I had attempted to make a jig to drill through multiple discs at once, however the drill bit is very small and would not stay straight. I ended up just setting up my fence and drilling them one at a time.
My wife has some jewelry tools and supplies that I was able to use to make the rings/hooks.
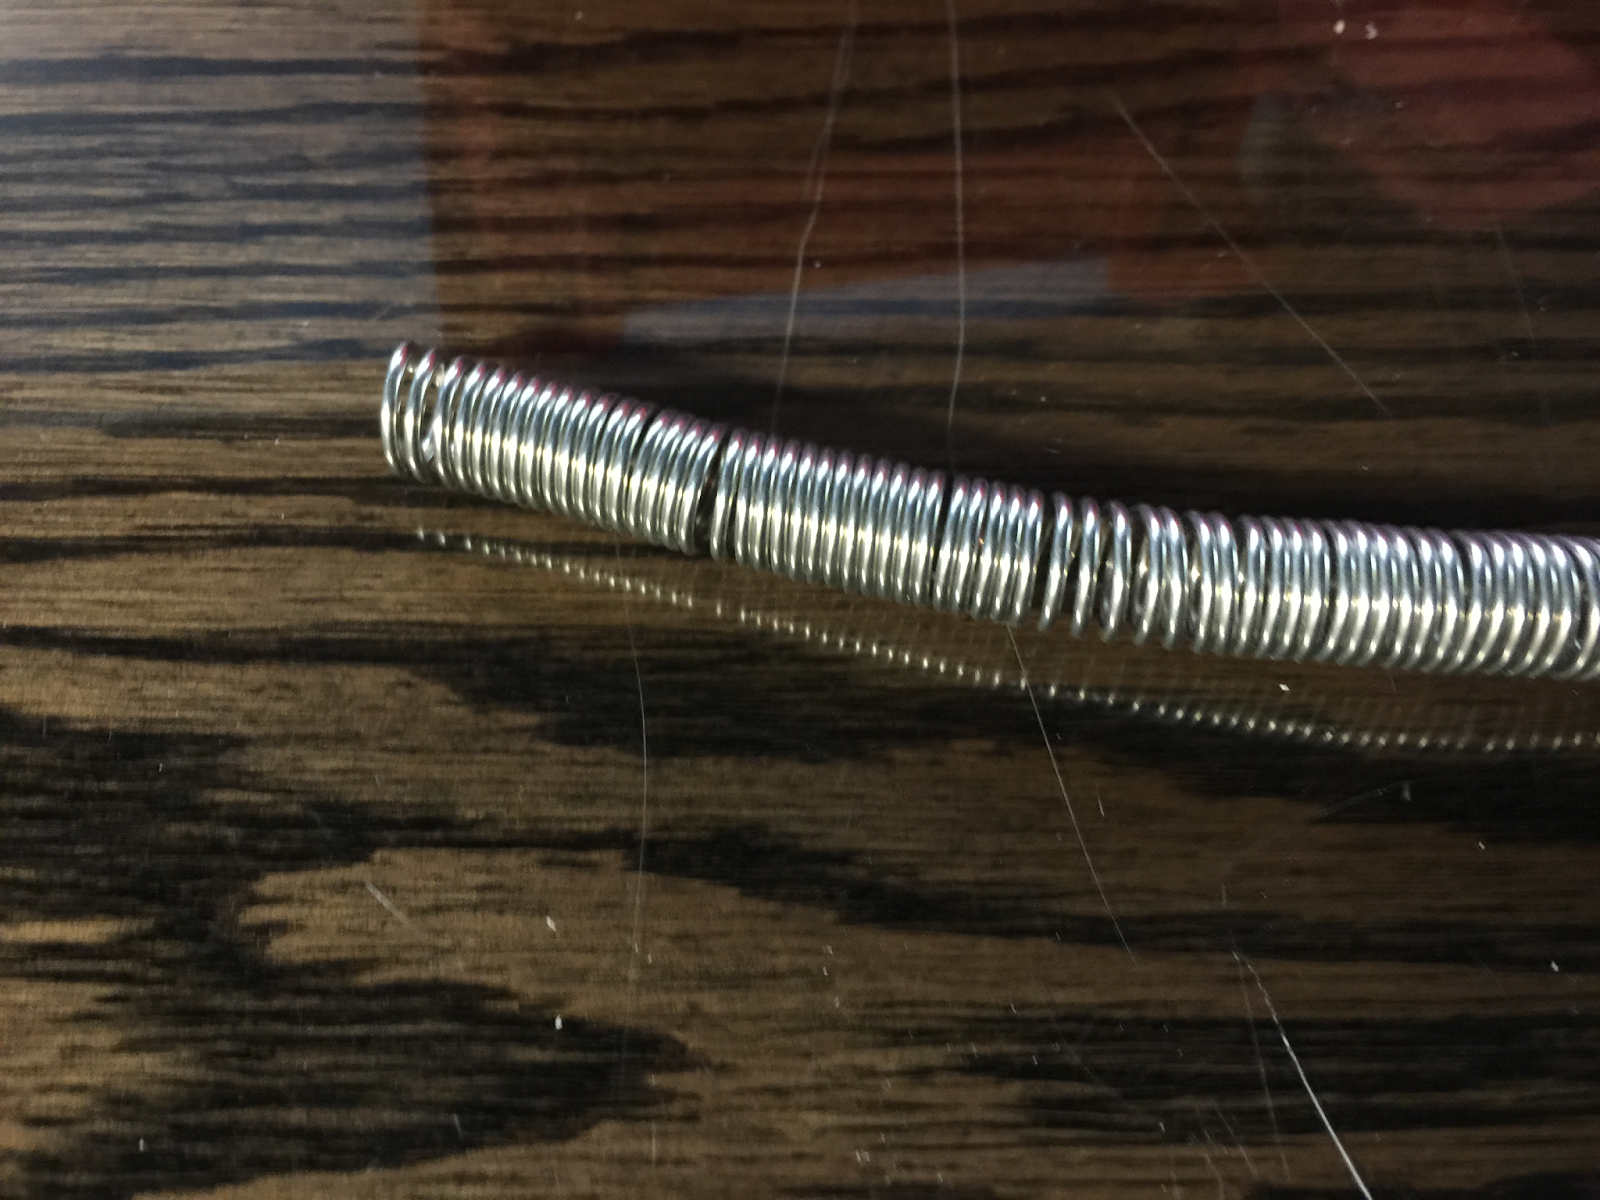

After separating the rings I attached them to the discs with a pair of pliers.


The last step was to add mounting brackets to the boards.

Here is one of the finished boards hanging in my wife's parents house.

No comments:
Post a Comment