
When I first thought about starting woodworking, one of things that drew me to the craft was cutting boards. I love the look of some of the handcrafted cutting boards, so I decided to start making one out of the spare hardwood that I had laying around.
I think my favorite cutting boards that I have seen are the brick pattern ones. They take a bit of work and I probably should have started with something a bit more simple, but hey, what the heck, right?
Here is the wood I am going to use for the cutting board. 4 pieces of oak that a work buddy gave me (had to do a bunch of planing, the oak was barn wood) and 2 pieces of what I think is cherry from a pallet.

Here are some of the oak boards that I had ripped after planing.

Made a bunch of Cherry strips to make the brick pattern.

Here is the first step of making the brick pattern.

Everything is glued up and clamped. You can never have too many clamps.

Step two of making the brick pattern is to cut everything going the opposite way.

After cutting your new strips just stagger them off the center line back and forth. Its hard to see here but I actually messed up just a bit. The last four strips on the left side are not quite aligned right. The mishap here really isn't a problem and you'll see why later.

I didn't have a good way to trim up this board, so I ended up making Jay Bates Multi Function Table Saw Hold Down Jig. This hold down jig is very handy, I should have made it much sooner. I trimmed up the length first.
The reason that having four boards off centered is not really a problem is that I wanted to make two cutting boards from this piece, one regular cutting board and one lime/cheese board.


After the boards were cut to size I used a belt sander to mow down the cherry strips. One thing I learned from this experience is to try and get things closer to the same size before gluing them together. It would have been much easier to just throw this thing in the planer, but I didn't want to do that until the board was roughly the same height.

I don't have any pictures of the pieces coming out of the planer, but they came out pretty nice.
The next step was to cut the shape out for the lime board and then round over both sides on my router.

The handle fits my hand really well, however I'm a fairly large guy.

My wife had a hard time using it. I decided to add a hole, both to hang from and to make it easier to hold.

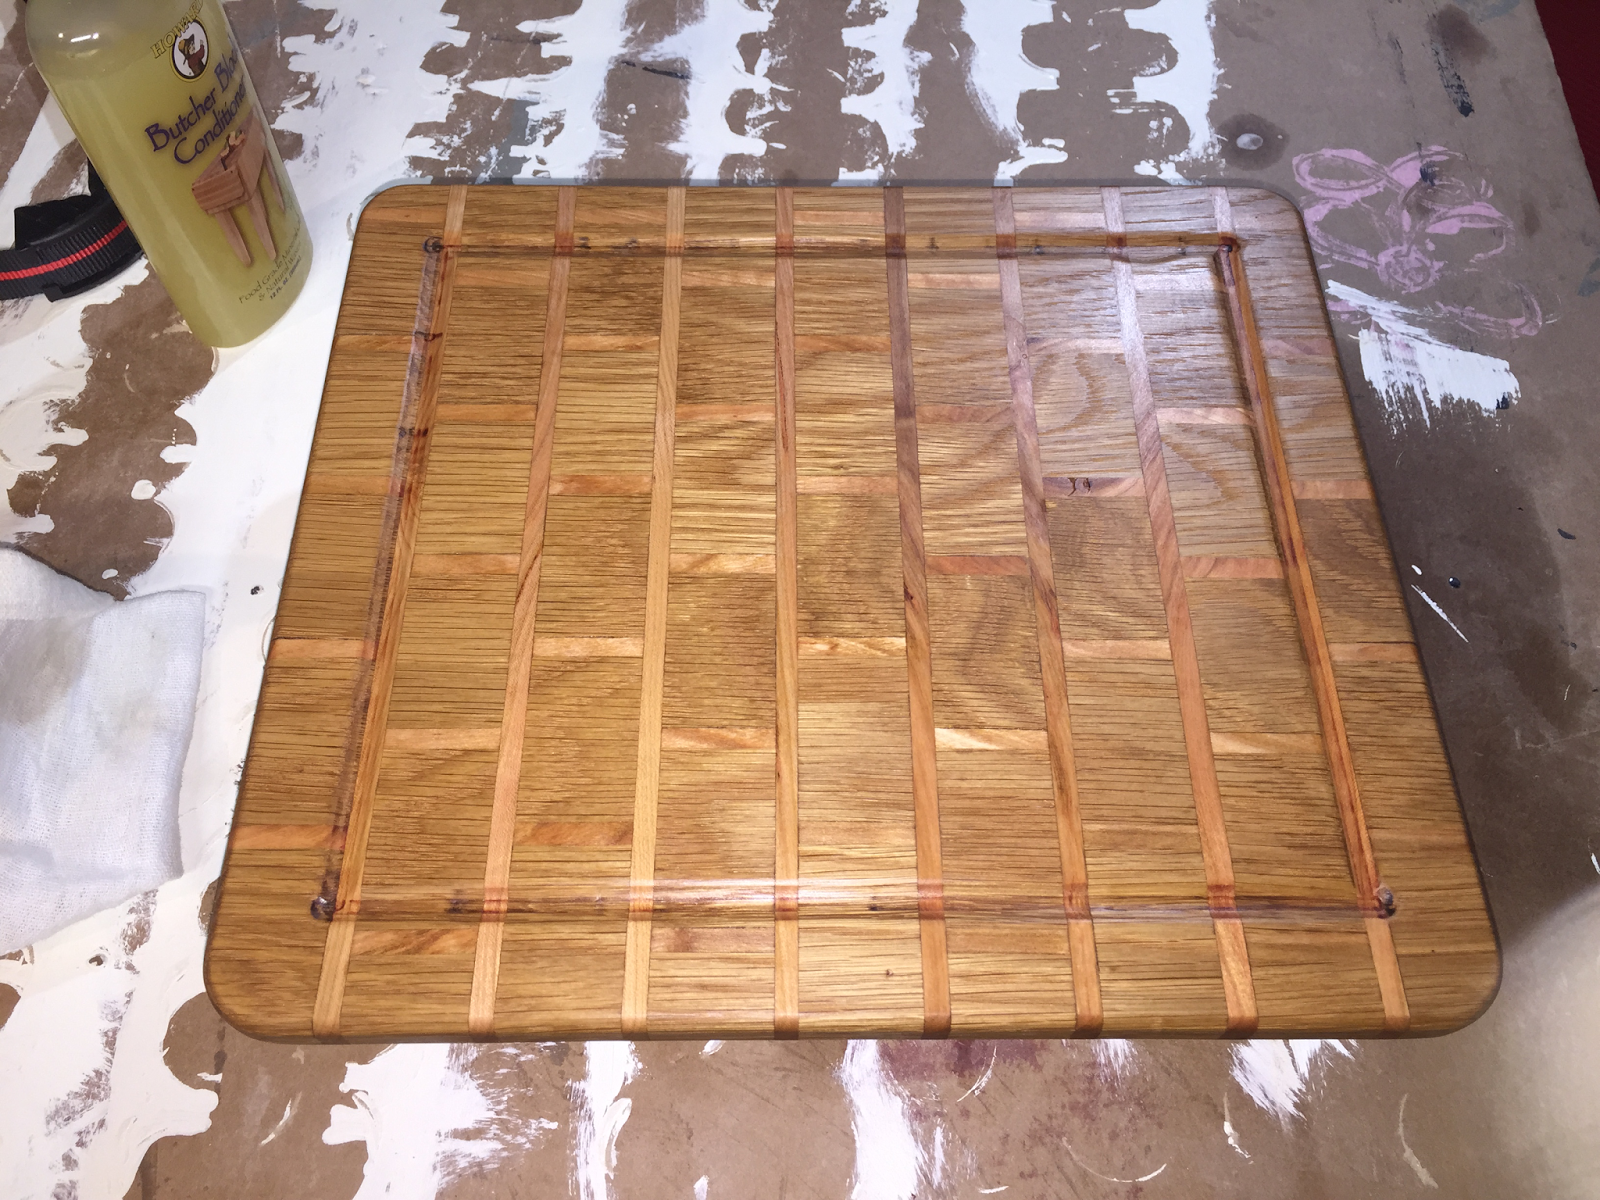
I did a bunch of sanding starting at 80 and ending up at 220 grit sand paper. I purchased some mineral oil and mineral oil with wax from Menards.

This is the board after the first coat. It got two more of just mineral oil and one of the mineral oil with wax.

Here is the larger board. I rounded the corners and ran a round over bit around the edges. I didn't go as heavy with the router on this as I did with the lime board. I also routed in what I'm going to call a juice catcher. It didn't come out exactly like I had planned. The router got away from me at one point and the vertical grooves go a bit farther than the horizontal.

This board got the same treatment as the lime board, three coats of mineral oil and one of mineral oil with wax.
No comments:
Post a Comment